Thursday, September 8, 2011

Spoooooky!!!

I LOVE this time of year, and yes I may be a little over anxious but I have already started making fall/Halloween decorations.


Please excuse my pictures- my camera is on the fritz so I had to use my Iphone-I promise I'll add better ones soon!

I bought these letters and the eyes at a local store called The Wood Connection.  If you haven't checked out their blog-DO IT!  I went in there a few weeks ago and I just stared at all the fun projects they have.  I'm gonna need to find a job quick in order to pay for them :)  I'm working on a few more that I'll show within the next few weeks!

Thanks, Bobbi

Wednesday, September 7, 2011

Cheesy Italian-Style Meatloaf

I stopped by the Our Best Bites cooking blog today, and came across this recent post "Rockin' Italian-Style Meatloaf".  So excited because I've been craving meatloaf for a few weeks now.  I was further in love with this recipe when I realized it was adapted from the Next Food Network Star Contestant Mary Beth Albright.  My husband and I LOVE watching this show (I probably like it more than he does-but he's great to watch it with me) and I've been dying to try some of the recipes.  Since Our Best Bites loved this meatloaf, it was a hit on the Next Food Network Star and I had all the ingredients, I figured it was a match made in meatloaf heaven! 

I've adapted it a little to fit our tastes so check out Our Best Bites for their version and Mary Beth Albright's version here.

 Cheesy Italian-Inspired Meatloaf
Adapted from Mary Beth Albright and Our Best Bites
my additions


Preheat oven to 425 degrees and line a sheet pan with tin foil.


Mix the following ingredients in a sauce pan over low heat. Stir occasionally
  • 1 c. ketchup
  • 1 c. barbecue sauce (Use your favorite)
  • 1/2 c. brown sugar
  • 1 Tbsp. mustard
  • 1 TSP Worcestershire Sauce
Add 1 TBSP olive oil to sauce pan and add the onion and garlic.  Cook until translucent. Then add parsley, basil, tomato paste, salt and pepper.  Cook for approximately 1 minute, stirring constantly then remove from heat and set aside.
  • 1 medium onion chopped
  • 2 cloves minced garlic
  • 1/4 c. fresh parsley
  • 1/3 c. chopped fresh basil
  • 2 Tbsp. tomato paste
  • 3/4 tsp. kosher salt
  • 1/2 tsp. freshly ground black pepper
Mix and set aside
  • 1 c. buttermilk
  • 1/3 c. panko bread crumbs (I used Italian style bread crumbs)
 Mix beef with the onion, garlic, tomato paste and herb mixture. Once combined add Parmesan Cheese, and buttermilk mixture.
  • 2 lbs  ground beef and/or pork (I like the taste of just beef, but you can add pork if desired)
  • 1/2 C parmesan cheese
Dump meat mixture onto a clean surface and flatten out into a rectangle.  Layer cheese down the middle of the meat and then roll the meat into a loaf (the cheese should be on the inside of the loaf). Place the meatloaf on the prepared pan and top with 1/2 of the barbeque sauce mixture. 

Cook for approximately 45-50 minutes.  Once cooked remove from the oven and brush with the leftover glaze.  Let the meatloaf cool for 5 minutes then serve.  
I hope you all enjoy this cheesy version of Italian Meatloaf.

~Bobbi

Tuesday, September 6, 2011

Simple Baby Headband

Have you ever noticed that everything baby is SOOO much cuter?  Well I have and I know this is my second baby headband post, but when you have an adorable little niece like this- can you really blame me? She's making me a little baby hungry and since someday I'm hoping to have a cute little girl of my own, I figure there's nothing wrong with practicing bow making now!

I LOVE all the flowers and bows that little girls have in their hair, but my sister tends to like things a little more simpler. Plus this little miss has such an adorable face that it would be a shame to take away from that chubby cuteness with a big extravagant bows (don't get me wrong she does wear them and they look adorable but sometimes simple is better).   I had some elastic that I've been meaning to turn into headbands so I figured I would experiment and see if I could come up with a simple bow headband.  The turquoise bow you see in the picture above is what I came up with, and just because she is soooo cute here's another picture.
 Now I can't help you get a baby this cute, but I can show you how I made the headband.  You won't believe how easy it is.

Easy Bow Headband
What you need:
  • Elastic (you can buy good headband elastic on etsy)
  • Glue Gun
  • Scissors
  • Ruler
Step 1: Determine what size headband you need and draw a line on the elastic.  Here's a quick headband sizing guide
  • Newborn ~ 12 inches
  • 0-6 months~ 13 inches
  • 6-12 months~14 inches
  • 12-18 months ~15 inches
  • 18-24 months ~16 inches
You can also measure the baby's head and then minus 1/2 inch.  I marked my elastic at 12.5 inches.  Once you've made a mark, add 4 inches and then cut.  For example my elastic totaled 16.5 inches long.  
Step 2: Now cut a 2 inch piece of elastic. 
Step 3: Heat up your hot glue gun.  With your long strip of elastic, find the mark you made for the actual headband size.  Mine was at 12.5 inches.  Put a small dot of glue onto the mark and then glue down the long end of the elastic, creating the actual headband.  My elastic had a shiny and a dull side, if this is the case make sure the shiny side is facing out.
Step 4:  Now that the headband portion is done, it is time to create the bow.  Create another circle with the extra four inches, by gluing the end of the elastic to the joint of the headband. Your headband should look like this.
Step 5: Apply a small dot of glue to the joint of the small loop and push the top middle of the loop into the glue to create the bow.
Step 6: Wrap the center of the bow with the 2 inch strip of elastic. To do this glue the center of the 2 inch elastic to the middle of the bow, wrap around to the back and glue both ends.
That's it- now you have a simple little bow to put on any cute chubby face.
I hope you enjoy this tutorial.  Let me know if you have any questions, or if my tutorial doesn't make sense:
Thanks~ Bobbi


Friday, September 2, 2011

Grilled Cheese and Caramelized Onion Sandwich

Fall is in the air and although I’m not quite ready to give up on summer yet, there is one thing I’m excited about-SOUP SEASON. When the air turns crisp and cool there is nothing better than to cuddle up with some freshly made soup. One of my favorites is Tomato Basil Soup, if you have a good recipe this is heaven on earth!  There is only one thing that could possible be better than tomato soup, tomato soup and grilled cheese sandwiches.  So in order to prepare for the upcoming season here is an easy and slightly grownup version of grilled cheese.
Grilled Cheese and Caramelized Onion Sandwich
  • Sprouted Wheat Bread or whatever kind you have on hand
  • Butter (approx 3 TBSP)
  • Provolone Cheese (anykind works-you could get fancy with Gruyere or go original with Chedder)
  • 1-2 Medium Sized Onions (Depends on how much you love onions, Nathan and I love them so we used about 1/2 an onion per sandwich)
Heat a skillet with approx. 2 TBSP of butter, over medium heat until butter is melted.  Thinly slice onions and add to the skillet. Stir often until golden brown (mmmm-my mouth is watering).  Remove from pan.
Butter the front and back of the bread. Add one slice of provolone to each slice then add the caramelized onions to one side.   Top the onions with a slice of bread and cheese.   
Then place the sandwich on the skillet (you can use the same skillet you made the onions in-you may need to add some cooking spray).  Cook until cheese is melted and bread toasted.  Now cut and look how pretty the golden onions look in all that melted goodness.  
All that is left to do is to enjoy with or without soup!  I'm still looking for the best Tomato Soup recipe if anyone has one and would like to share -it would be greatly appreciated!
Happy Labor Day!
~Bobbi   Linked up to these great parties Sassy Sites, I’m Lovin’ It, Frugal Friday, 

Tuesday, August 30, 2011

Mystery Dinner Date Night


Dating while in school is often nonexistent, especially once your married.  A few months ago Nathan and I realized that we needed to get back to dating each other, and make it a habit before we bring kids into this crazy life.  We took turns planning dates and it lasted a few month, until last semester. My final semester was crazy and I was caught up in a whirlwind of "to dos' before I could get that silly piece of paper that tells employers they should hire me.  We would occasionally find a night where we could go out to eat, but nothing creative just dinner.  Nathan started school last week and I decided to brave my incredibly hot kitchen and make him a nice dinner.  Then I decided to get crazy and turn it into a mystery dinner.  

Here's the menu:
I let Nathan choose my dinner as well, so that I couldn't cheat. 


Appetizer Course 
Nathan got Pucker's Power (Brazilian Lemonade), I Don't Wanna be a Duck (Ranch Chicken), and Two Paths One Choice (Fork)
I got Pucker's Power (Brazilian Lemonade), Fluffy Pillows (Roll), and Slippery When Wet (Ice Cream)


Main Course
Nathan got Indians Delight (Corn on the Cob), Buccaneer's Pal (Knife), Mini Digger (Spoon) and Shoemaker's Temptation (Nectarine Cobbler)
I got Don't Wanna Be a Duck (Ranch Chicken), Buccaneer's Pal (Knife), Two Paths One Choice (Fork), and Shoemaker's Temptation (Nectarine Cobbler)
 Dessert
Nathan chose well and got Fluffy Pillows (Roll), Sleepy Relative (Napkin) and Slippery When Wet (Ice Cream)
I got Indian's Delight (Corn), Mini Digger (Spoon) and Sleepy Relative (Napkin)
It was so much fun seeing what we each got and trying to eat without the correct utensils. We both had to eat ice cream with our hands and I was very grateful I received a napkin with my corn.

It was a silly simple date night, but we both had fun and it was different from anything we've ever done before :)

~Bobbi

Link Up Parties

Monday, August 29, 2011

No-Sew Fabric Flower Tutorial

I'm a procrastinator- wow it feels better to have admitted that!  Sunday's are usually my day to hurry up and finish homework that I should have been working on all weekend.  I mean why would I want to ruin a perfectly good Saturday with writing a paper, when I could do it late Sunday night?   So as always Sunday night rolled around and I had a surge of energy and I was all ready to do something.  The problem is with graduation comes no homework-now I'm not complaining but I didn't want to let this energy go to waste (because who knows when it will come again) so I dug through my unfinished projects and got to work. 

I'm currently working on a sewing project that I'm excited to share, mainly because I feel like I'm finally facing my sewing machine fears.  Come to find out the dreaded seam-ripper isn't as terrifying as I thought and it looks like it might be the beginning of a long friendship.  I'm almost finished and I'm visiting my sister's on Tuesday so I'll have a little model to try it on.  Look for that post on Wednesday!  In the meantime I wanted to make a cute flower headband to go with it.  I'm still in love with all the fun flower designs in blog world and I've tried several varieties.  I may be a little late to this party but I figured I'd share this tutorial more for my sake than anyone elses.  The flower I chose to do is one I found on the House of Smiths- if you have some free time make sure you stop by her fabulous blog. 


Here's the completed flower with a sneak peak of the project I'll be revealing on Wednesday!

Here's how I created the flower.  It is REALLY simple all you need is some fabric, button, small piece of felt or fleece, alligator clip and a hot glue gun.   (Yep - no sewing - the seam ripper and I needed some time apart)
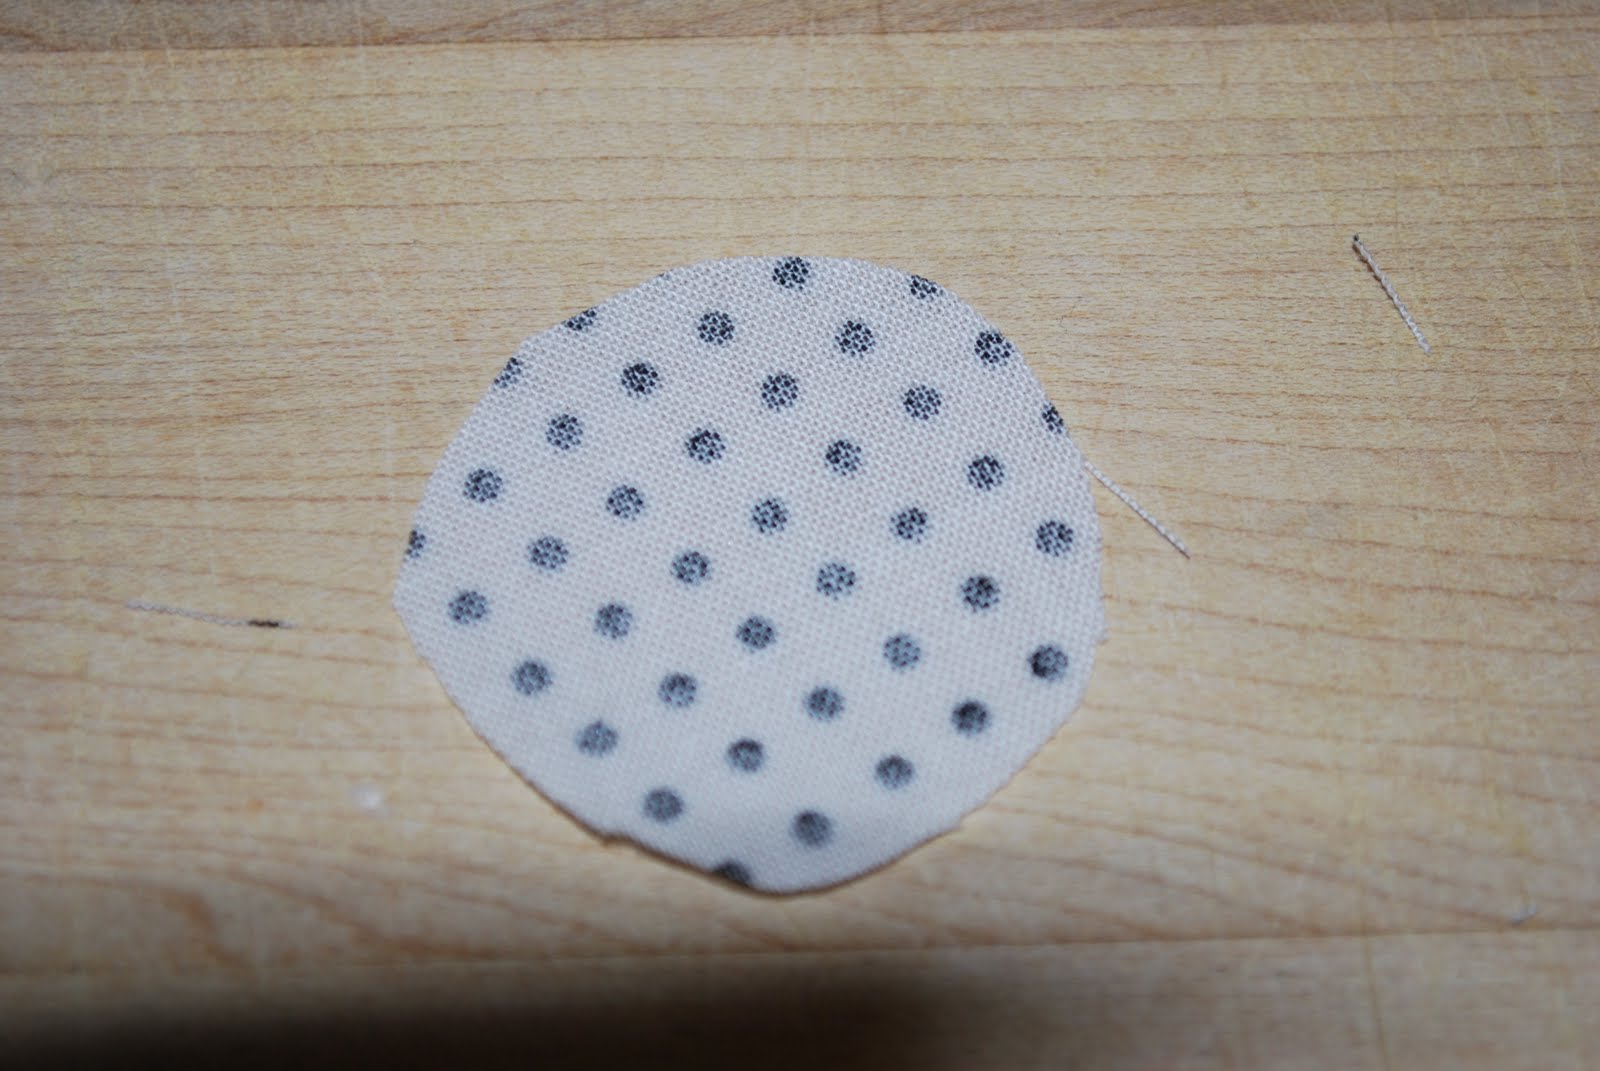
  1. Cut out 12 circles, 6 of one size and then 6 a little smaller.  The size you make your circles all depends on how big you want your flower.  My large circles were about 2 inches in diameter and my smaller ones 1 inch in diameter.  The flower ended up being just bigger than 2 inches in diameter.  Don't stress about the exactness of the circles-it really doesn't matter (one more reason I LOVE this design-it's SO hard to mess it up).
  
      2.  Fold each circle in half.


    3.  Then place a small amount of hot glue in the center of the folded circle along the bottom of the
         fold (right where my finger is).


     4. Next fold one side halfway into the center of the circle (see below) and press into the hot glue.


     5.  Now fold the other side of the half circle into the middle.  Make sure the glue is securing both
          sides.


    6. Cut out a circle approximately 1 inch in diameter.  This is the base of the flower. Cover it in hot
       glue and begin adding the  large flowers. 


     7.  Use the larger petals to create the bottom layer of the flower.  You should have 6 large petals,
          and there will be some overlapping. 


    8.  Once your bottom layer has been created add some hot glue to the center of flower and add the
         smaller 6 petals on top of the first layer.   Again overlapping will occur.


    9.  Add a small dot of hot glue to the center of the flower and add a button or jewel to the center.
         Now your flower is completed and you have a cute flower to add to whatever project you want.  


See wasn't that easy!  Now if you want to be able to add it to a headband follow the last 2 steps.  

    10.  Cut out a small piece of felt or fleece.  I used fleece because that's what I had on hand :)  


   11.  Slide the fleece in between the clip and hot glue the fleece and the bottom of the clip to the
         flower.


 Now you're done.  You can either add it to a headband or just clip in your hair. 


Make sure you come back on Wednesday to see what inspired this project and to see a cute little model modeling the whole ensemble :)

~ Bobbi

Friday, August 26, 2011

Crockpot Sweet & Sour Chicken, Veggies & Noodles

I LOVE cereal-I could live off of cheerios for breakfast, lunch and dinner and without air conditioning we've had cereal more often than not. However my poor husband does not share my love of cereal, so I've been trying to cook him some protein to compliment the cereal. Grilled Chicken and Honey-Nut Chex, mmmm...doesn't that sound good? JK- I really don't make him eat that. I usually love cooking and experimenting in the kitchen, so we're both looking forward to cooler weather.

One way to tackle my air conditionless (is that a word?) kitchen is by using a crockpot. This meal is so simple and could be made on the stovetop as well (air conditioning is recommended). It only has 4 ingredients, 5 if you like a little more spice.


Crockpot Sweet and Sour Chicken, Veggies & Noodles

  • Bottle of Sweet & Sour Sauce
  • 2 Chicken Breasts, cut up into bite-sized pieces
  • 1 12oz bag of mixed vegetables (mine were carrots, broccoli and cauliflower)
  • 1 9oz. bag of Japanese Style Noodles

Combine the Sweet & Sour Sauce and chicken into the crock-pot and cook on low for about 3.5 hours. Then add the mixed vegetables. Continue to cook together for 1.5 hours. During the final 15-20 minutes boil the Japanese Noodles according to the directions on the bag. Once the noodles are cooked, add them to the crockpot, mix until coated, then serve.


I mentioned above that I love spicey foods; however, Nathan doesn't so I'm going to share my secret - Sweet Chili Sauce. I'm addicted to it and it adds just enough spice to almost any meal. I've even added it to ketchup to spice it up. This way I still get my spice and my husband stays happy!


Thanks for visiting. Have a fabulous weekend!
~Bobbi