
I'm a procrastinator- wow it feels better to have admitted that! Sunday's are usually my day to hurry up and finish homework that I should have been working on all weekend. I mean why would I want to ruin a perfectly good Saturday with writing a paper, when I could do it late Sunday night? So as always Sunday night rolled around and I had a surge of energy and I was all ready to do something. The problem is with graduation comes no homework-now I'm not complaining but I didn't want to let this energy go to waste (because who knows when it will come again) so I dug through my unfinished projects and got to work.
I'm currently working on a sewing project that I'm excited to share, mainly because I feel like I'm finally facing my sewing machine fears. Come to find out the dreaded seam-ripper isn't as terrifying as I thought and it looks like it might be the beginning of a long friendship. I'm almost finished and I'm visiting my sister's on Tuesday so I'll have a little model to try it on. Look for that post on Wednesday! In the meantime I wanted to make a cute flower headband to go with it. I'm still in love with all the fun flower designs in blog world and I've tried several varieties. I may be a little late to this party but I figured I'd share this tutorial more for my sake than anyone elses. The flower I chose to do is one I found on the House of Smiths- if you have some free time make sure you stop by her fabulous blog.

Here's the completed flower with a sneak peak of the project I'll be revealing on Wednesday!
Here's how I created the flower. It is REALLY simple all you need is some fabric, button, small piece of felt or fleece, alligator clip and a hot glue gun. (Yep - no sewing - the seam ripper and I needed some time apart)
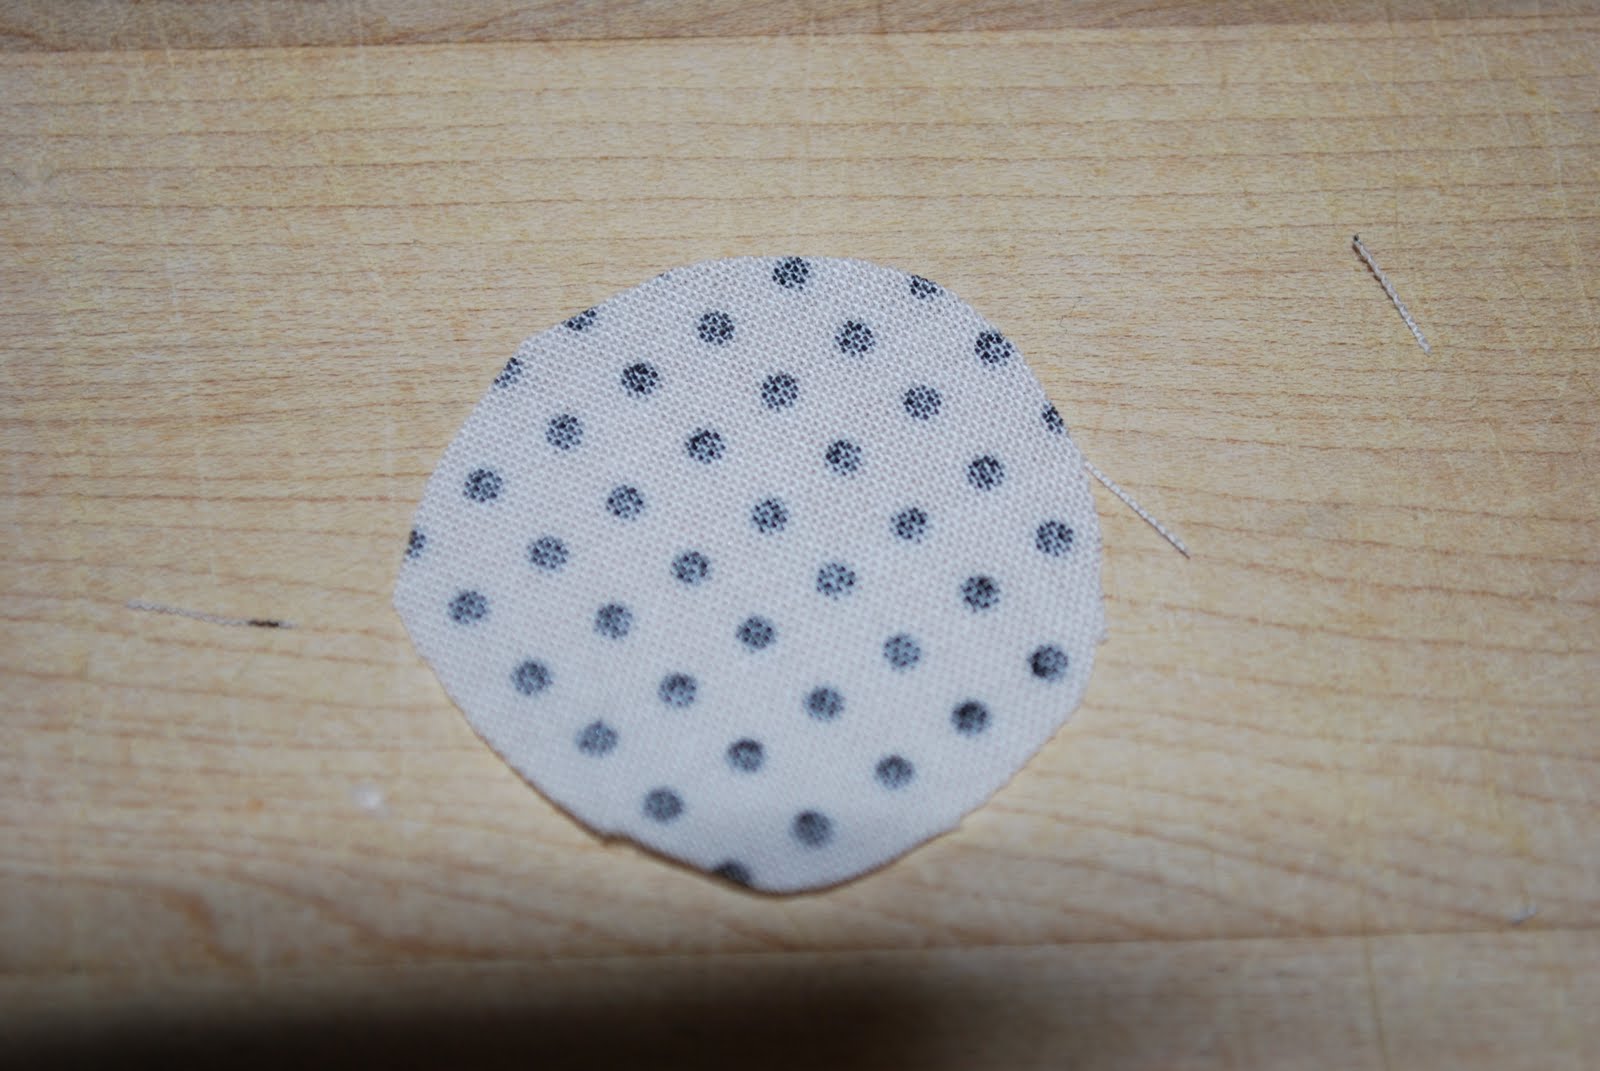
- Cut out 12 circles, 6 of one size and then 6 a little smaller. The size you make your circles all depends on how big you want your flower. My large circles were about 2 inches in diameter and my smaller ones 1 inch in diameter. The flower ended up being just bigger than 2 inches in diameter. Don't stress about the exactness of the circles-it really doesn't matter (one more reason I LOVE this design-it's SO hard to mess it up).

2. Fold each circle in half.

3. Then place a small amount of hot glue in the center of the folded circle along the bottom of the
fold (right where my finger is).

4. Next fold one side halfway into the center of the circle (see below) and press into the hot glue.

sides.

6. Cut out a circle approximately 1 inch in diameter. This is the base of the flower. Cover it in hot
glue and begin adding the large flowers.
and there will be some overlapping.

8. Once your bottom layer has been created add some hot glue to the center of flower and add the
smaller 6 petals on top of the first layer. Again overlapping will occur.

9. Add a small dot of hot glue to the center of the flower and add a button or jewel to the center.
Now your flower is completed and you have a cute flower to add to whatever project you want.

See wasn't that easy! Now if you want to be able to add it to a headband follow the last 2 steps.

10. Cut out a small piece of felt or fleece. I used fleece because that's what I had on hand :)

11. Slide the fleece in between the clip and hot glue the fleece and the bottom of the clip to the
flower.

Now you're done. You can either add it to a headband or just clip in your hair.

Make sure you come back on Wednesday to see what inspired this project and to see a cute little model modeling the whole ensemble :)
~ Bobbi
Very cute idea!
ReplyDelete